Intro to Log Alerts
Log alerts can ensure that you're notified of critical events. Configuring the right alerts is the foundation of any proactive development, DevOps, and validation practice.
Logz.io alerts use an OpenSearch Dashboards search query to continuously scan your logs and alert you when certain conditions are met. The simplest alerts can use a simple search query or a particular filter, but others can be quite complex and involve several conditions with varying thresholds.
To open the Alert definitions page, select Logs > Alerts from the navigation menu.

You'll see a paginated list of all alerts configured for your account.
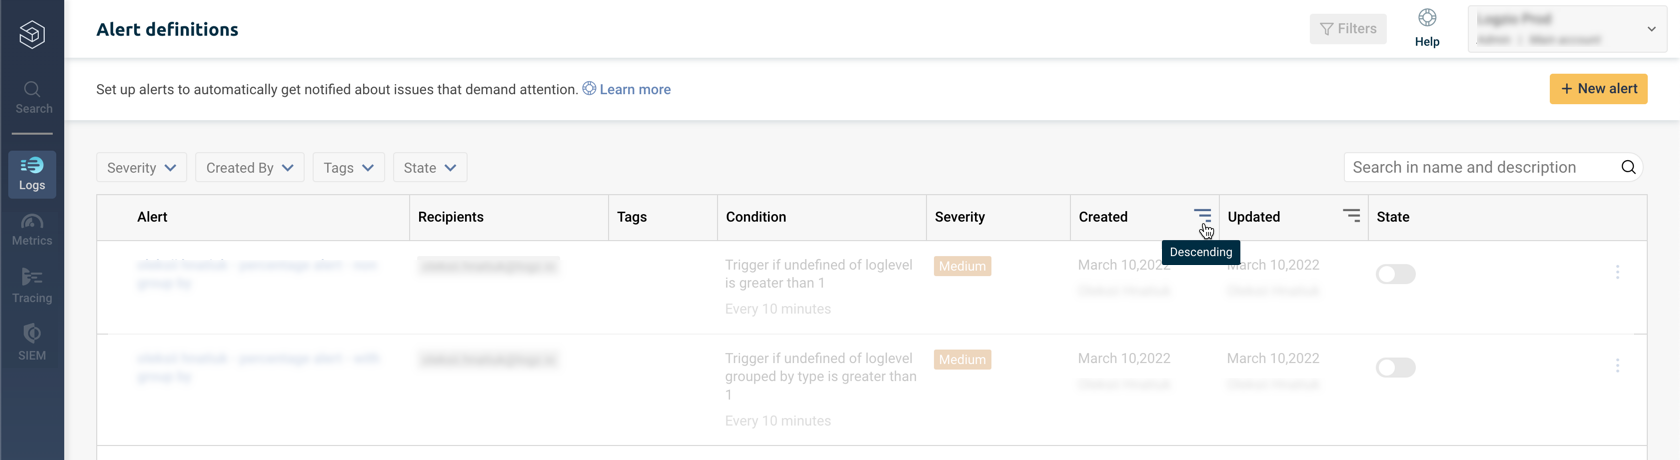
Order or filter your Log alerts
You can click the column headers or the top filters to sort the list by severity, by the user who created the alert, by tags, or by the state of each alert.
To filter chronologically by when alerts were created or updated, click on the column you'd like to filter:
Manage Log alerts
You can manage each alert individually or act on many alerts at once.
Use the search terms and filters to find the alerts you want to edit. Then, you can choose them by clicking on the checkbox next to their name or select all of the visible alerts on the page (up to 25 alerts) by checking the top box.

If you have more than 25 alerts you'd like to edit, you can select all of the results that match your search by clicking on the hypertext located at the top right of the table:

There is a limit of 1,000 alerts that you can act on simultaneously.
Individual alerts
Each alert has a State button you can toggle to enable or disable the alert as needed.
To edit, duplicate or delete an alert, hover over its line to reveal the Delete and Edit buttons.
You can click the Menu button : to open the additional options: Duplicate an alert and View last events. Select the latter to display the alert query and number of hits.
Multiple alerts
Choosing one or more alerts opens a top menu with the following actions:
- Delete - Delete all of the selected alerts
- Activate - Turn all selected alerts to active
- Deactivate - Deactivate all selected alerts
- Recipient - Add or replace recipients and notification points

Clicking on the Recipient option presents you with a pop-up with 2 available options:
Add - Adds new recipients and notification points on top of the existing ones. You can use this to add Slack channels, email addresses, and more.
Replace - Remove the existing notification points and recipients, and replace them with the new settings. Note that you won't be able to review the current notification settings, and you won't be able to revert the action once you save your changes.
