Understanding Log Alerts
Log alerts are essential for ensuring you’re notified of critical events. Setting up the right alerts is a cornerstone of proactive development, DevOps, and validation practices.
Logz.io alerts leverage the Explore Dashboard search queries to continuously monitor your logs and notify you when specific conditions are met. Alerts can range from simple searches or filters to complex queries with multiple conditions and varying thresholds.
Create a log alert
You can create an alert directly from your Explore Dashboard, or build it manually according to your desired configuration.
Open the Explore Dashboard, create a query or simple search to trigger your alert, and click the Create Alert button in the top right corner.
You'll be redirected to the Create an alert page, where you can continue configuring your alert.

To manually build an alert, navigate to Alerts > + New alert to configure and create an alert.

Review existing alerts
To view a paginated list of all alerts configured for your account, navigate to the Alerts section.
You can sort the list by clicking on the column headers or using the top filters. Sort by severity, creator, tags, or alert status.
Use the search bar to find a specific alert quickly.
Click on the corresponding column header to filter alerts chronologically by name, severity, creation date, or update date.

Manage Log alerts
You can manage alerts individually or in bulk.
Use search terms and filters to locate the alerts you want to edit. Select them by clicking the checkbox next to each alert, or check the top box to select all visible alerts on the page (up to 25).

If you need to edit more than 25 alerts, you can select all alerts that match your search criteria by clicking the hypertext link at the top right of the table.

You can act on up to 1,000 alerts simultaneously.
Individual alerts
Each alert features a State button that you can toggle to turn the alert on or off as needed.
To edit, duplicate, or delete an alert, hover over its row to reveal the Delete and Edit buttons.
Click the Menu button (:) to access additional options such as duplicating the alert or viewing the latest events. Selecting the latter will display the alert query and the number of hits in the Explore Dashboard.

Multiple alerts
Choosing one or more alerts opens a top menu with the following actions:
- Delete - Delete all selected alerts
- Activate - Set all selected alerts to active
- Deactivate - Set all selected alerts to inactive
- Recipient - Add or replace recipients and notification points

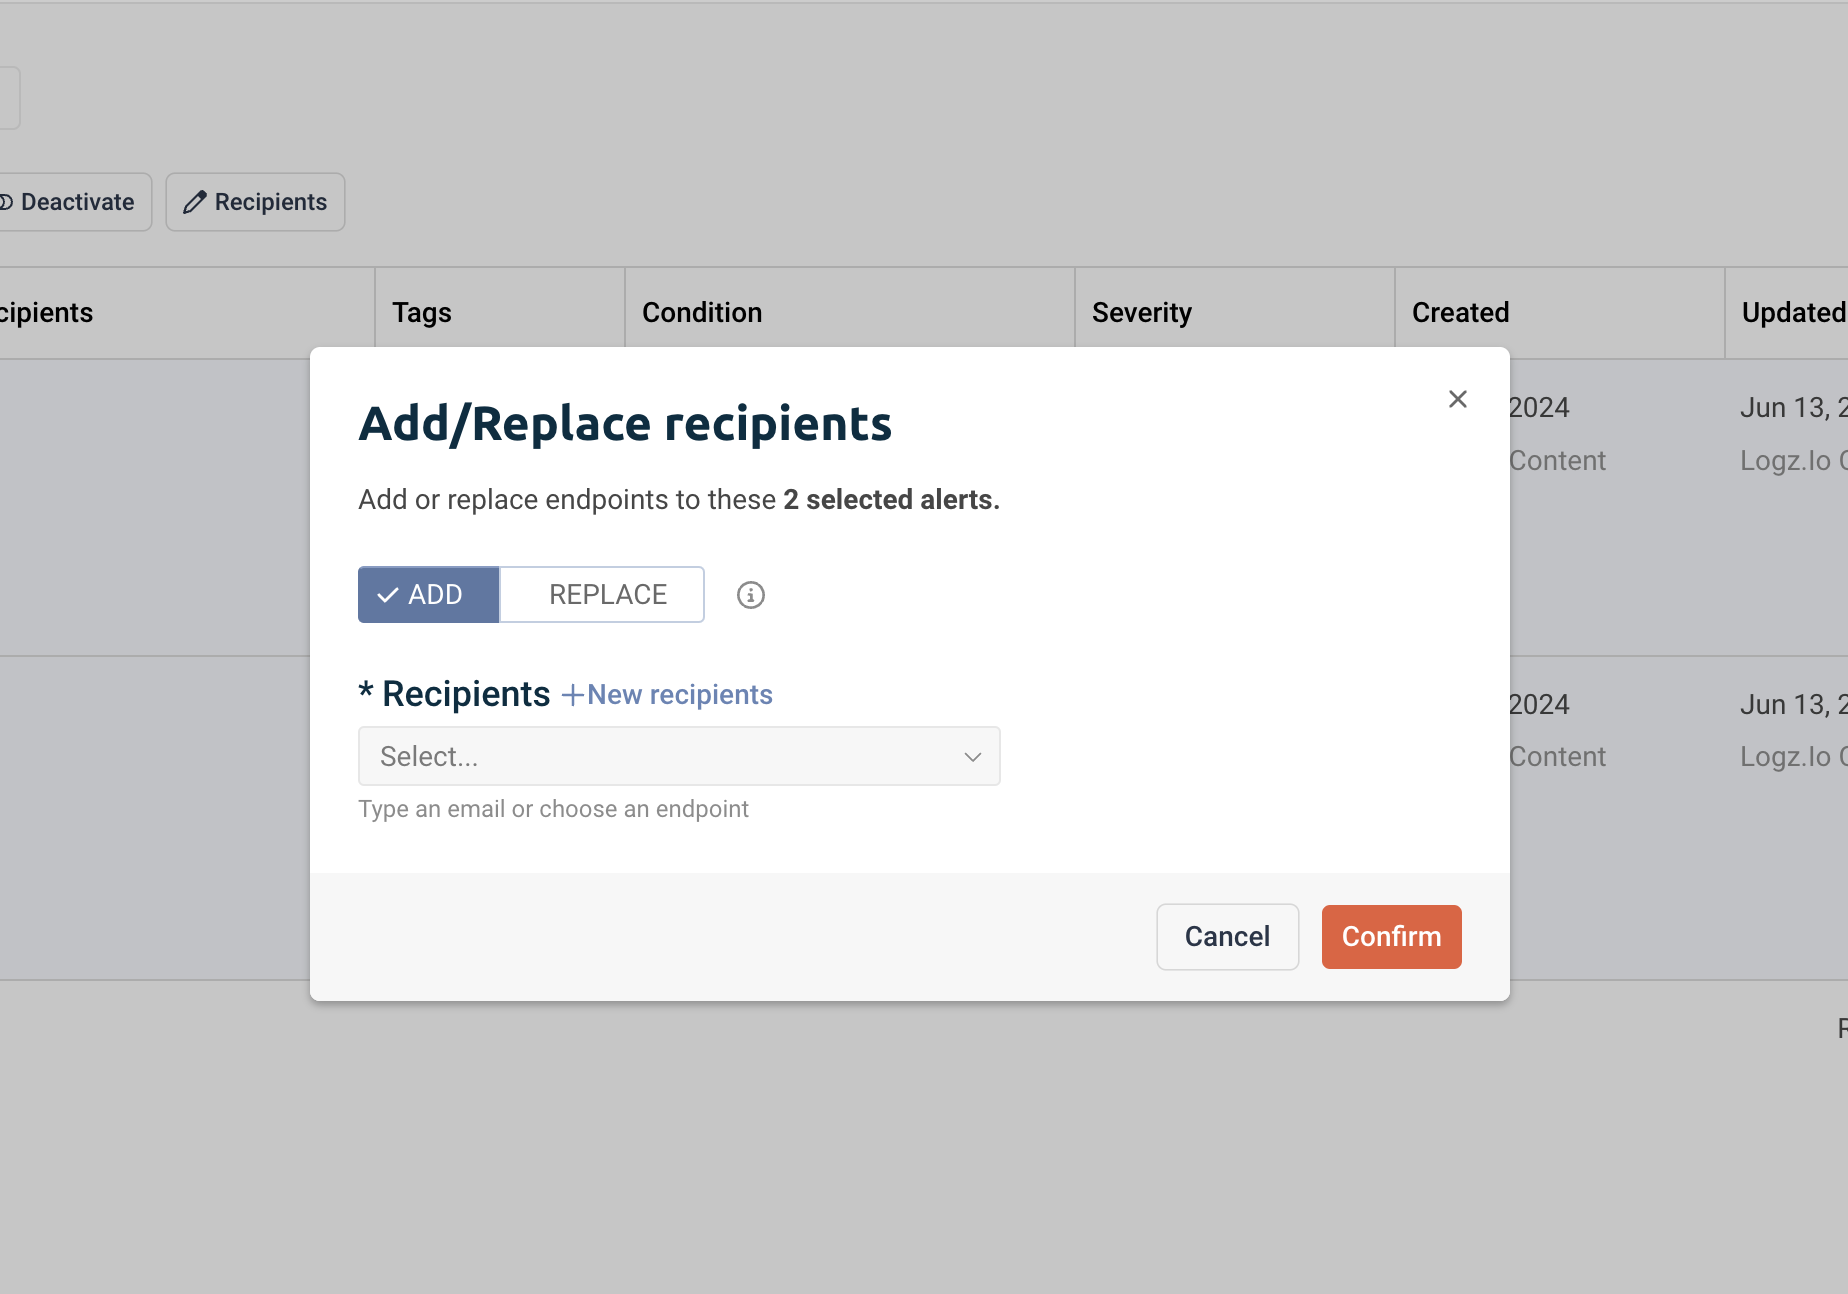
Clicking on the Recipient option opens a pop-up with two options:
Add - Add new recipients and notification points to the existing ones. This can include Slack channels, email addresses, and more.
Replace - Remove existing notification points and recipients, and replace them with new settings. Note that you won't be able to review the current notification settings or revert this action once saved.
Click Confirm to apply your changes.