Restore Archived Logs

When you restore archived logs, those logs are re-ingested into a temporary account. You can search restored accounts directly from your main Logs account. Restoring archived logs allows you to see your data in its original detail, so you can investigate events in OpenSearch Dashboards that are older than your plan’s retention period.
Known limitations
- The maximum data to restore per restore sub-account is equivalent to your account's daily reserved volume, and can't be more than 100 GB.
- If the restore process exceeds the max, the process will fail.
- Data can be restored from the root of an S3 bucket, but not a sub-bucket path.
Restored logs count towards your daily quota but won't affect the ingestion of regular logs. Use Power Search and Filters to restore critical logs without worrying about overages, as these are counted against your On-Demand quota, ensuring continuous data ingestion for your account.
Restore and view archived logs
Before you begin, you'll need: Archiving enabled, archived logs in your S3 bucket.
Your existing drop filters will not apply when restoring data. Instead, use the optional filters to control which data to restore.
Name your restored account and set the desired time range
In the Restore data tab, give your restored account a Name, and choose a Time range of up to 24 hours.
Apply power search and filters
You can control and limit which data you'd like to restore by applying filters, using Power search, or both. Your restored logs will only include data that matches all of your filters and your exact search term.
Power search speeds the restore process dramatically by uploading and re-indexing only relevant data from your S3 archive, using exact text match search strings. In addition, the filters allow more granular filtering on structured data per field and can further reduce the amount of restored data (that counts against the daily quota). Filters are applied after the Power search results are uploaded to the ingestion pipeline, and you can use both to optimize your restored data.
When to use Power search and filters together
To achieve maximum accuracy in retrieving the right logs from cold storage, you can use Power search together with filters. Power search applies an exact text match search to your archive and looks for any occurrence of your search string. If you know the exact fields where your data is located, you can apply filters to your parsed and structured data while focusing on specific fields. This will further reduce the amount of logs that you need to restore.
Only Power search actually speeds up the restore time. Filters help you reduce the restored volume and deliver the most accurate results that match your search criteria.
Use Power search
For a limited time we have removed the additional charge for the Power search. So you can now get this feature's benefits without worrying about additional costs!
Power search lets you apply a text search directly on your archived data before restoring it, dramatically cutting down the time to restore. In addition, Power search allows you to focus on restoring only critical and insightful data. It uses scanned data and searches the string inside of that data.
Before using Power search:
Power search requires additional permissions to run.
To use Power search, enter a text string you'd like to find in your archived logs. The search is case sensitive and supports “, AND, OR, and () operators, but you can’t use nested brackets (()).
For example, you can run any of the following searches:
("blue sky" OR clouds) AND rain OR "thunder storms""ATLAS" AND "Error""bucketName" AND ("Error" OR "Warning")

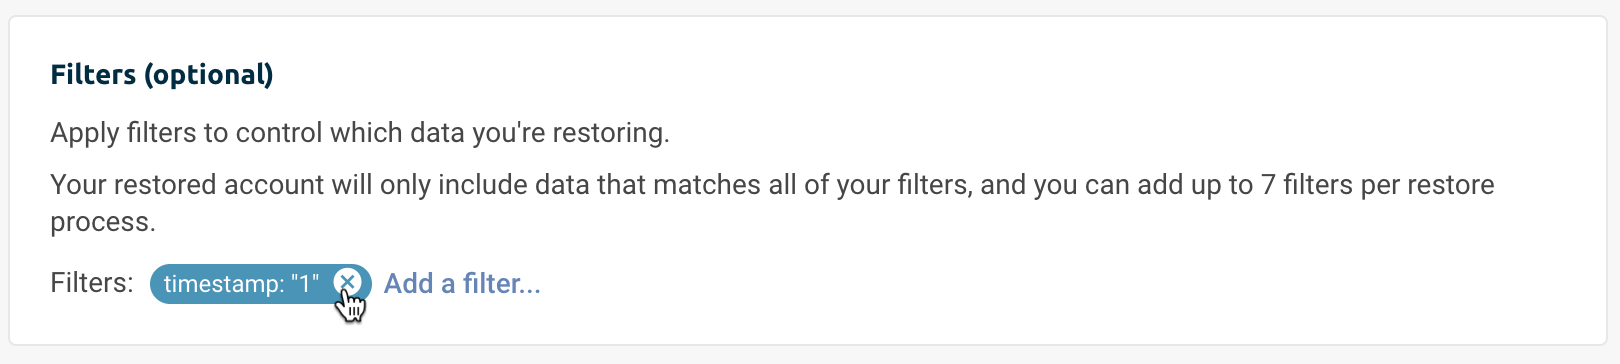
Add a filter
To add a filter, click on Add a filter and choose the relevant field, operator, and value.
You can choose between the following operators:
- is - Pull logs that match the exact value
- is not - Pull logs that don't contain the exact value
- is one of - Pull logs that contain one or more of the values
- is not one of - Pull logs that don't contain one or more of the values
- exists - Pull all logs that contain the selected field
- does not exist - Pull all logs that don't contain the selected field
Note that you can add up to 7 filters per restore process and that they are not contradictory to each other.

If you want to remove one of the filters you've created, click on the X next to its name.
Restore your data
To continue, click on the Proceed button. You'll see a summary of your restore settings and be asked to approve them to continue the process.
Once approved, the restore process will start and you can check the progress in the Restored accounts tab.
You can view your logs before the restore process is complete, by clicking on the View logs option next to the relevant restored account.
You'll gain access to the data as it is re-indexed, and you'll be able to ensure that the search/filters were set correctly.
Once the restored account is ready, you'll receive a notification via email.
Your restored account will remain available for 5 days. If you want to explore the data after the restore has expired, you'll have to restore it again.
Explore the restored account in OpenSearch Dashboards
You can view your restored account directly from the Restored accounts page by clicking on the View logs option next to the relevant account.
In addition, you'll receive an email with a link to View in OpenSearch Dashboards. This link takes you to OpenSearch Dashboards in your main account, with a view showing only the restored account's data.
If you need to filter OpenSearch Dashboards manually, choose the newly restored account in the Selected Accounts box, and then select your data's original Time Range.
Now you're ready to search your restored account!