Reports
Logz.io reports enable you to automatically distribute dashboards on a regular schedule via Slack and email. Each time a report is created, Logz.io generates a snapshot of the selected dashboard, which includes the visual data at the time of creation.
These snapshots are stored for 30 days and then automatically deleted.
Create a report
There are two main methods to create a report: directly from a dashboard or from the Reports page.
Open a dashboard and click Create report from the menu.

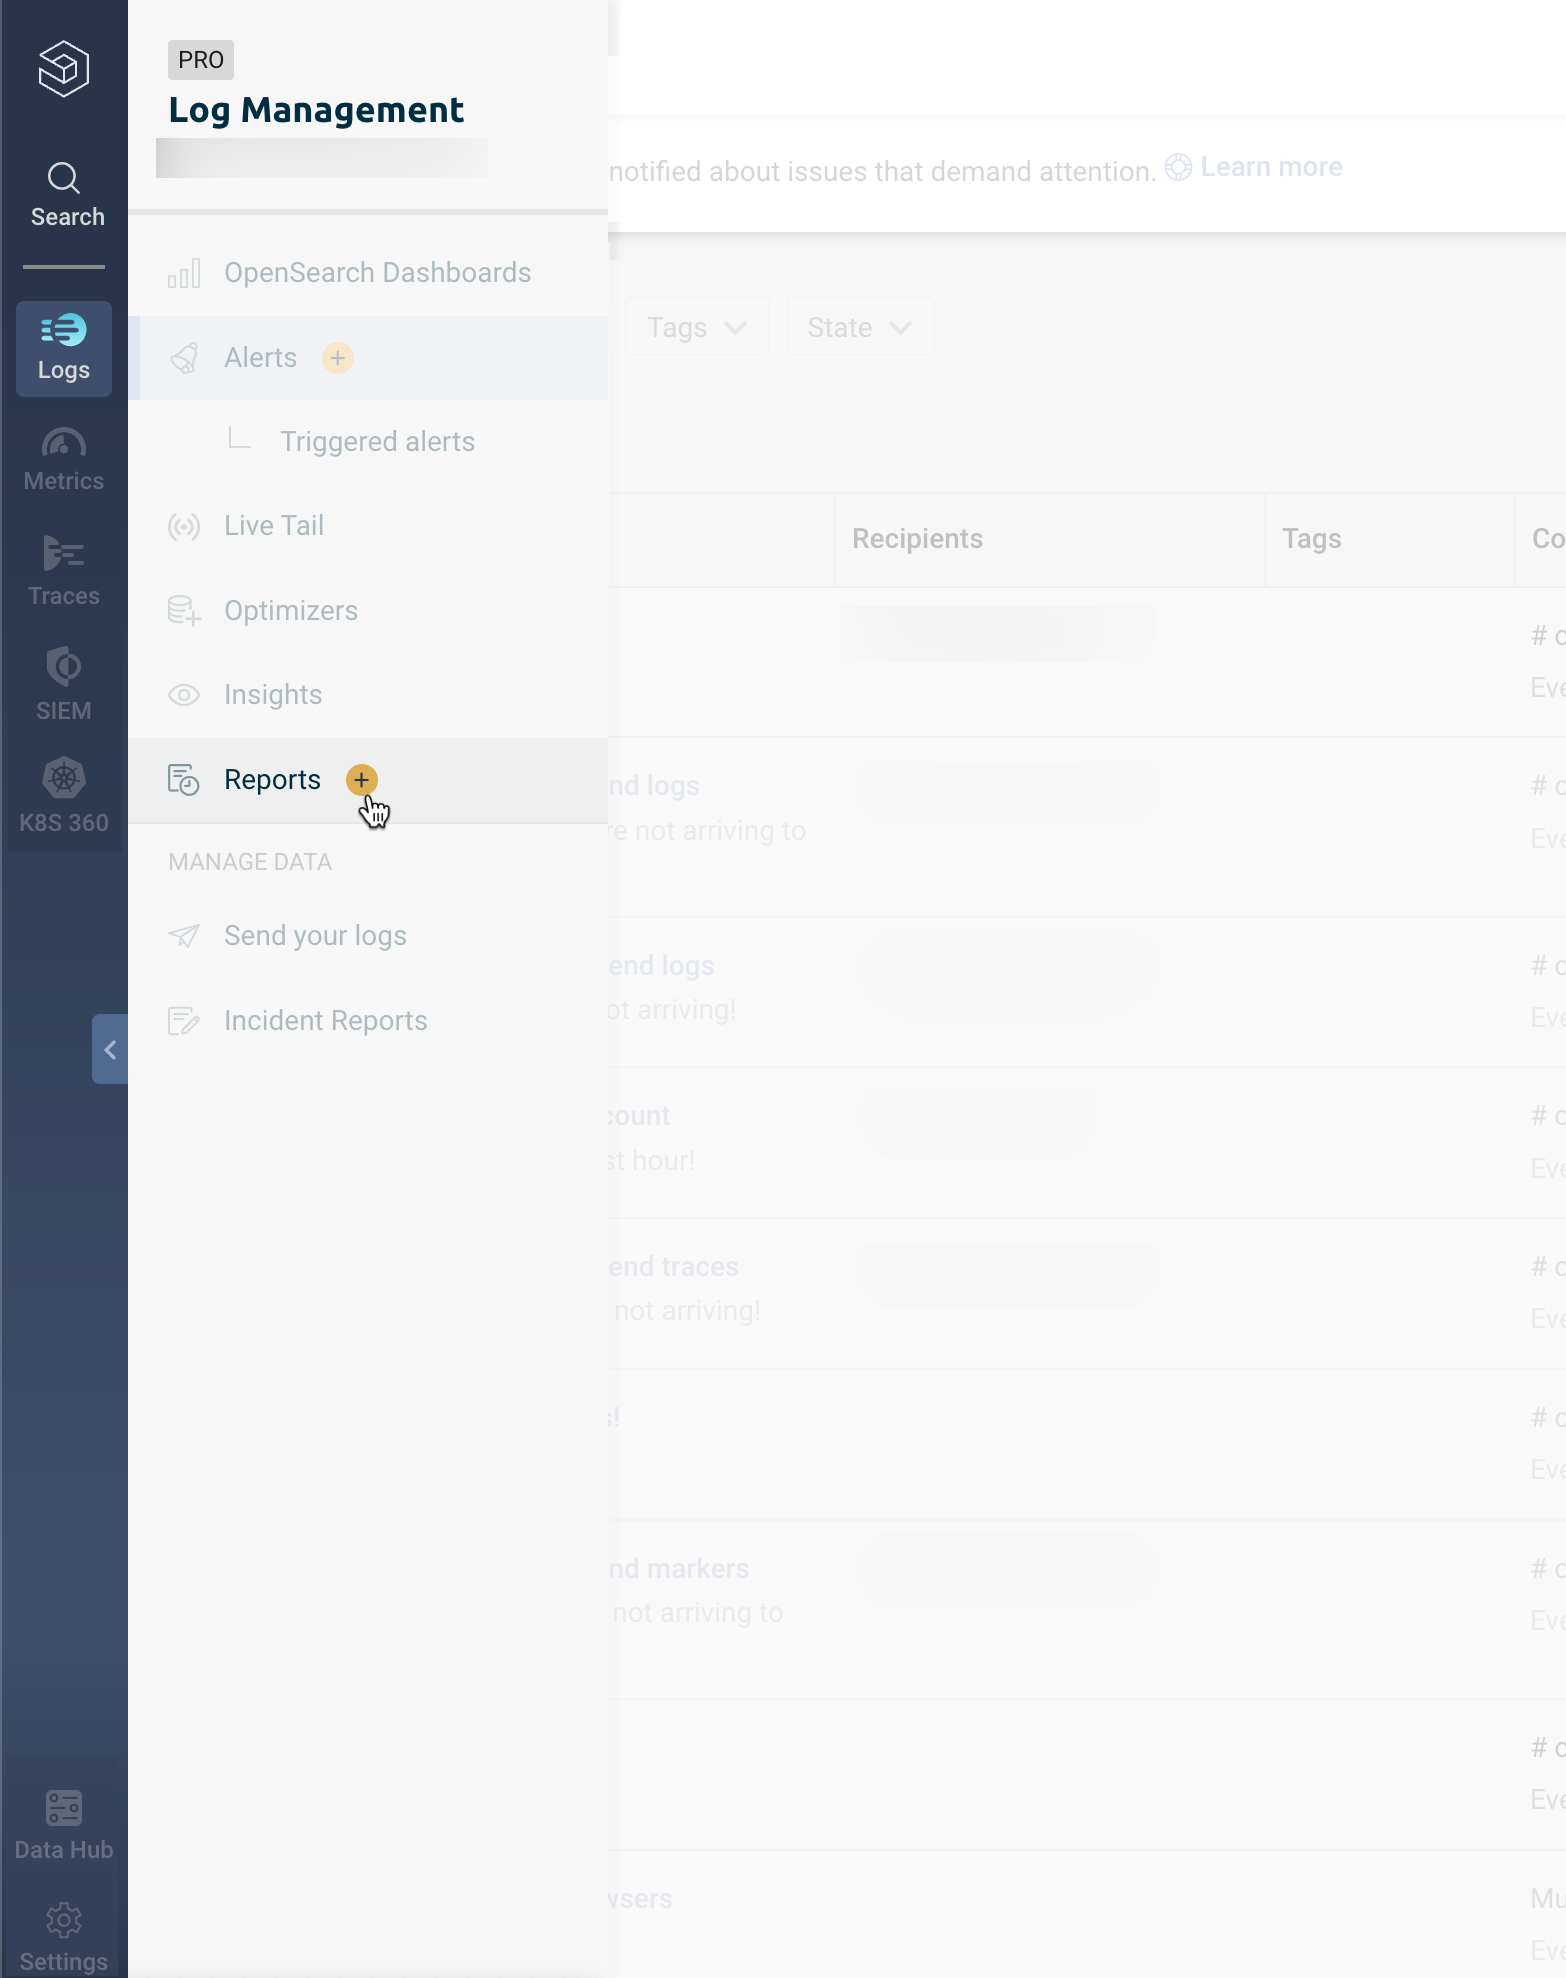
Navigate to Logs > Reports and click the yellow + icon to open the Create a report page.

Configure a report
On the Create a report page, choose a name for your report. This name appears in the email subject or Slack heading. Write a description to include in the message body, giving context to recipients.
Select a dashboard and time range
In the form, under Which dashboard to send, select a dashboard from the dropdown list.
Next, select the time range for the dashboard. Under For this time range, select the time frame in minutes/hours/days. Your time range can be anything from 1 minute to 30 days.
Set the schedule
Use the Cron scheduler to specify when reports are sent and set the desired time zone for accurate timing.
You can use an online tool such as the Quartz Cron Expression Generator to easily translate your requirements into a cron expression. The scheduler can be used to set up advanced schedules, like the last day of every month, or the last Thursday of the month at a specific hour.
Select your recipients
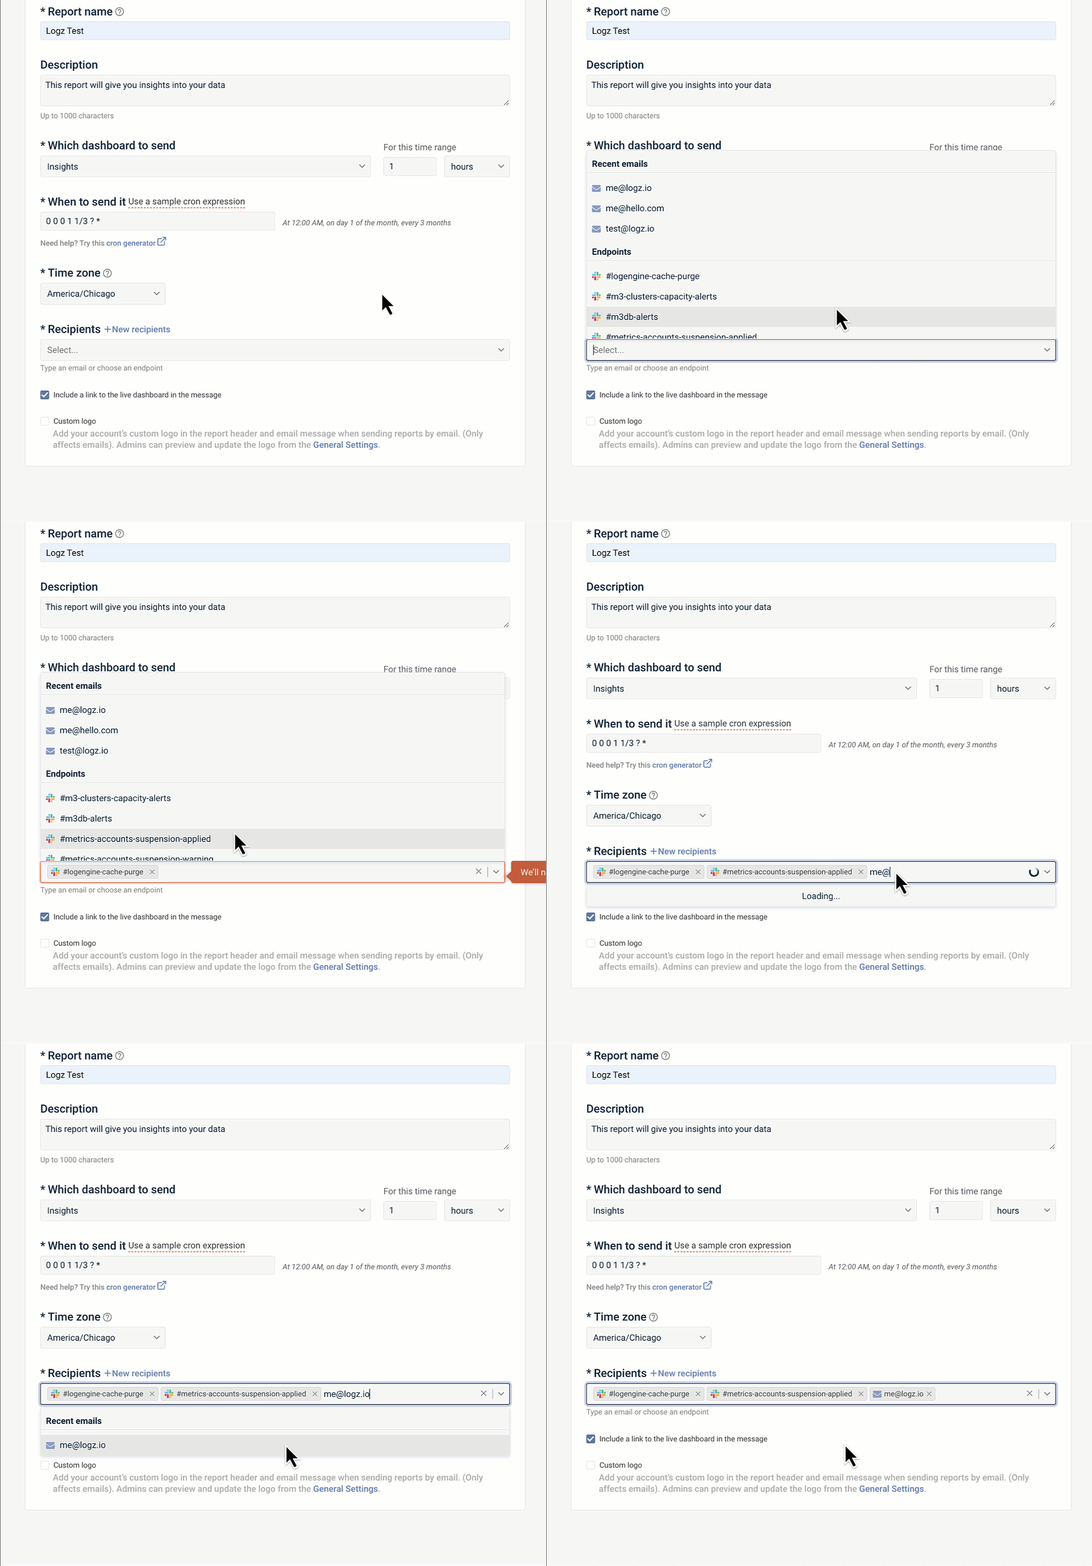
You can send the report to users via email or Slack. To add a Slack channel, click the dropdown list to select from available options. To add an email address, type it in and press Enter to include it on the list.

Add custom logo & sharing link
Your report can include a direct link to view a live dashboard in Logz.io with the relevant data. This option is enabled by default, and recipients will need to log into Logz.io to see it. Disable this option by unchecking the box.
Admins can add custom logos to the reports. When the report is emailed, the custom logo will appear in the email body and the PDF header. To upload the logo, navigate to General Settings > Logo for reports.
Here's an example of what the report email might look like. A represents the custom logo, and B shows the link to the live dashboard:

Test and save
You can send a test of the report to verify that it includes all relevant data. Click the Send test button and choose which Slack channels and emails you want to use to review it.
Click Save to activate the report.
Edit or delete reports
To edit an existing report, go to Logs > Reports, select the report you wish to modify, and click the pencil icon.
To disable a report temporarily, toggle the 'Active' button.
To delete a report, hover over it and click the trash icon. Please note that deleted reports cannot be restored.
