Auth0
Default configuration - a custom log stream using webhooks
Auth0 is an easy to implement, adaptable authentication and authorization platform. Deploy this integration to ship Auth0 events from your Auth0 account to Logz.io using custom log stream via webhooks.
Before you begin, you'll need: an active account with Auth0.
Create a custom log stream
Log in to your Auth0 account, navigate to Auth0 Dashboard > Monitoring > Streams, and select Create Stream.
On the New Event Stream, select Custom Webhook.
The following screen appears:
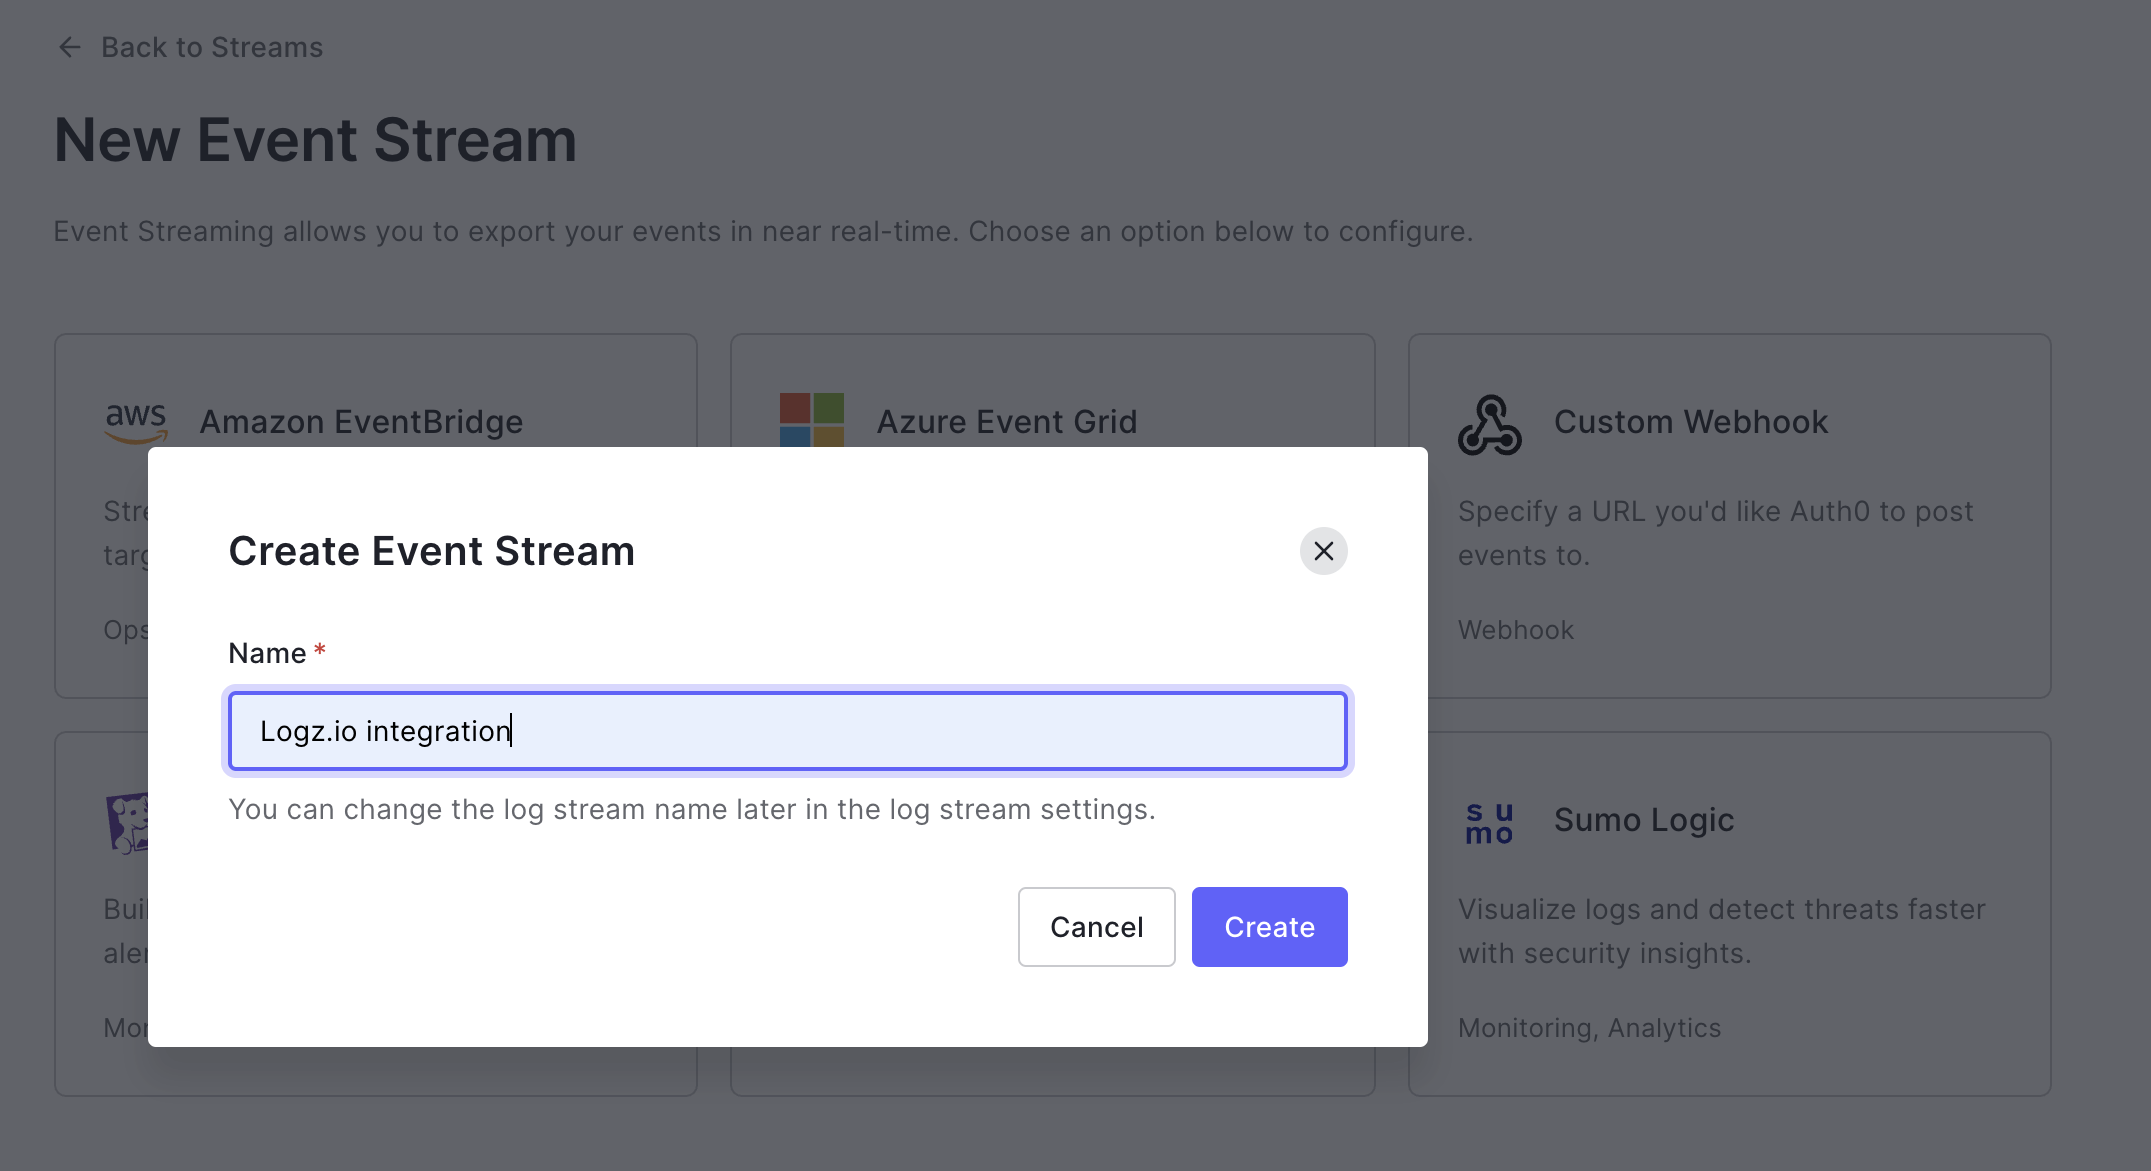
In the Name field, enter Logz.io integration and select Create.
Configure the required parameters
The Settings tab of the created event stream is displayed after you create the stream.
Configure the required parameters as follows:

- In the Name field, enter Logz.io integration.
- In the Payload URL field, enter
https://<<LISTENER-HOST>>:8071/?token=<<LOG-SHIPPING-TOKEN>>&type=auth0. Replace<<LISTENER-HOST>>with the host for your region. The required port depends whether HTTP or HTTPS is used: HTTP = 8070, HTTPS = 8071. Replace<<LOG-SHIPPING-TOKEN>>with the token of the account you want to ship to. - In the Content Type field, select application/json.
- In the Content Format field, select JSON lines.
Save the changes
Select Save to save the changes and create the stream.
Check Logz.io for your data
Give your data some time to get from your system to ours, and then open Open Search Dashboards. You can filter for data of type auth0 to see the incoming Auth0 events.
If you still don't see your logs, see log shipping troubleshooting.
Using Logstash
Auth0 is an easy to implement, adaptable authentication and authorization platform. Deploy this integration to ship Auth0 events from your Auth0 account to Logz.io using Logstash.
Before you begin, you'll need: an active account with Auth0.
Install and configure the "Auth0 Logs to Logstash" extension
Login to your Auth0 account, navigate to Auth0 Dashboard > Extensions, and select Auth0 Logs to Logstash to display the Install Extension screen:

Configure the required parameters
Configure the required parameters as follows:
- In the LOGSTASH_URL field, enter your Listener host URL and port. Use the listener URL specific to the region where your Logz.io account is hosted. Click to look up your listener URL. The required port depends whether HTTP or HTTPS is used: HTTP = 8070, HTTPS = 8071.
- In the LOGSTASH_TOKEN field, enter your log shipping token (
<<LOG-SHIPPING-TOKEN>>). Your Logz.io log shipping token directs the data securely to your Logz.io Log Management account. The default token is auto-populated in the examples when you're logged into the Logz.io app as an Admin. Manage your tokens. - In the LOGSTASH_INDEX field, enter
auth0.
Configure the optional parameters
If required, configure the optional parameters as follows:
In the Schedule field, enter the required schedule value. This is the frequency with which logs should be exported. This can be customized after creation.
In the Batch size field, enter the required batch size value. This is the number of logs to be sent per batch. Maximum is
100. Logs are batched before sending, and multiple batches are sent each time the extension runs.In the Start from field, enter a log ID value. This is the checkpoint ID of the log from which you want to start sending.
In the Slack incoming webhook url field, enter the address for the Slack incoming webhook. This is the specific Slack webhook to which you want to send reports from the extension.
In the Slack send success field, use the selector menu to choose whether to send verbose notifications to Slack.
In the Log level field, specify minimal log level of events that you would like sent to Logstash.
In the Log types field, select the events for which logs should be exported.
For detailed information on these parameters, refer to the Auth0 documentation.
Install the extension
After you select Install, you are redirected to the Installed extensions page.

Authorize the extension
Select the Auth0 Logs to Logstash extension and confirm that you authorize this extension.
View the exported logs
After you authorize the extension, you are directed to the Logs Export page, where you can see the events that are exported to Logz.io.

Check Logz.io for your data
Give your data some time to get from your system to ours, and then open Open Search Dashboards. You can filter for data of type auth0 to see the incoming Auth0 events.
If you still don't see your logs, see log shipping troubleshooting.